Benefits of Using the Pre-Approval API
Before diving into the technical details of how to use Pre-Approval, let’s explore the key benefits and reasons why integrating this API can be a game-changer for your business and customers.Enhance Customer Experience
- Speed and Convenience: Enables instant pre-approval decisions, improving the customer journey.
- Transparency: Builds trust with upfront financing information.
Increase Sales Efficiency
- Qualified Leads: Focuses efforts on financially eligible customers.
- Customized Offers: Tailors offers to fit customer budgets, improving conversion rates.
Minimize Risk
- Soft Credit Pulls: Protects customer credit scores during the inquiry process.
- Accurate Financial Assessment: Ensures appropriate loan terms to minimize defaults.
Streamline Operations
- Automated Processing: Reduces manual workloads and operational costs.
- Integration with Sales Processes: Enhances data flow across business operations.
Competitive Advantage
- Innovative Service: Differentiates your business with a digital-first approach.
- Data-Driven Decisions: Improves product and offer alignment with customer needs.
Authentication
To securely use this endpoint:- Sign up for a Drivly account
- Create a DRIVLY_API_KEY.
The key should be included in the header of each request.
API Best Practices
Learn how to keep your API key secure and prevent unauthorized access.
Making a Pre-Approval Request
Submit a pre-approval tohttps://commerce.driv.ly/api/preApprovals with a POST request. Below is a breakdown of the required and optional data fields, supplemented with example requests for your applications.
Required Fields
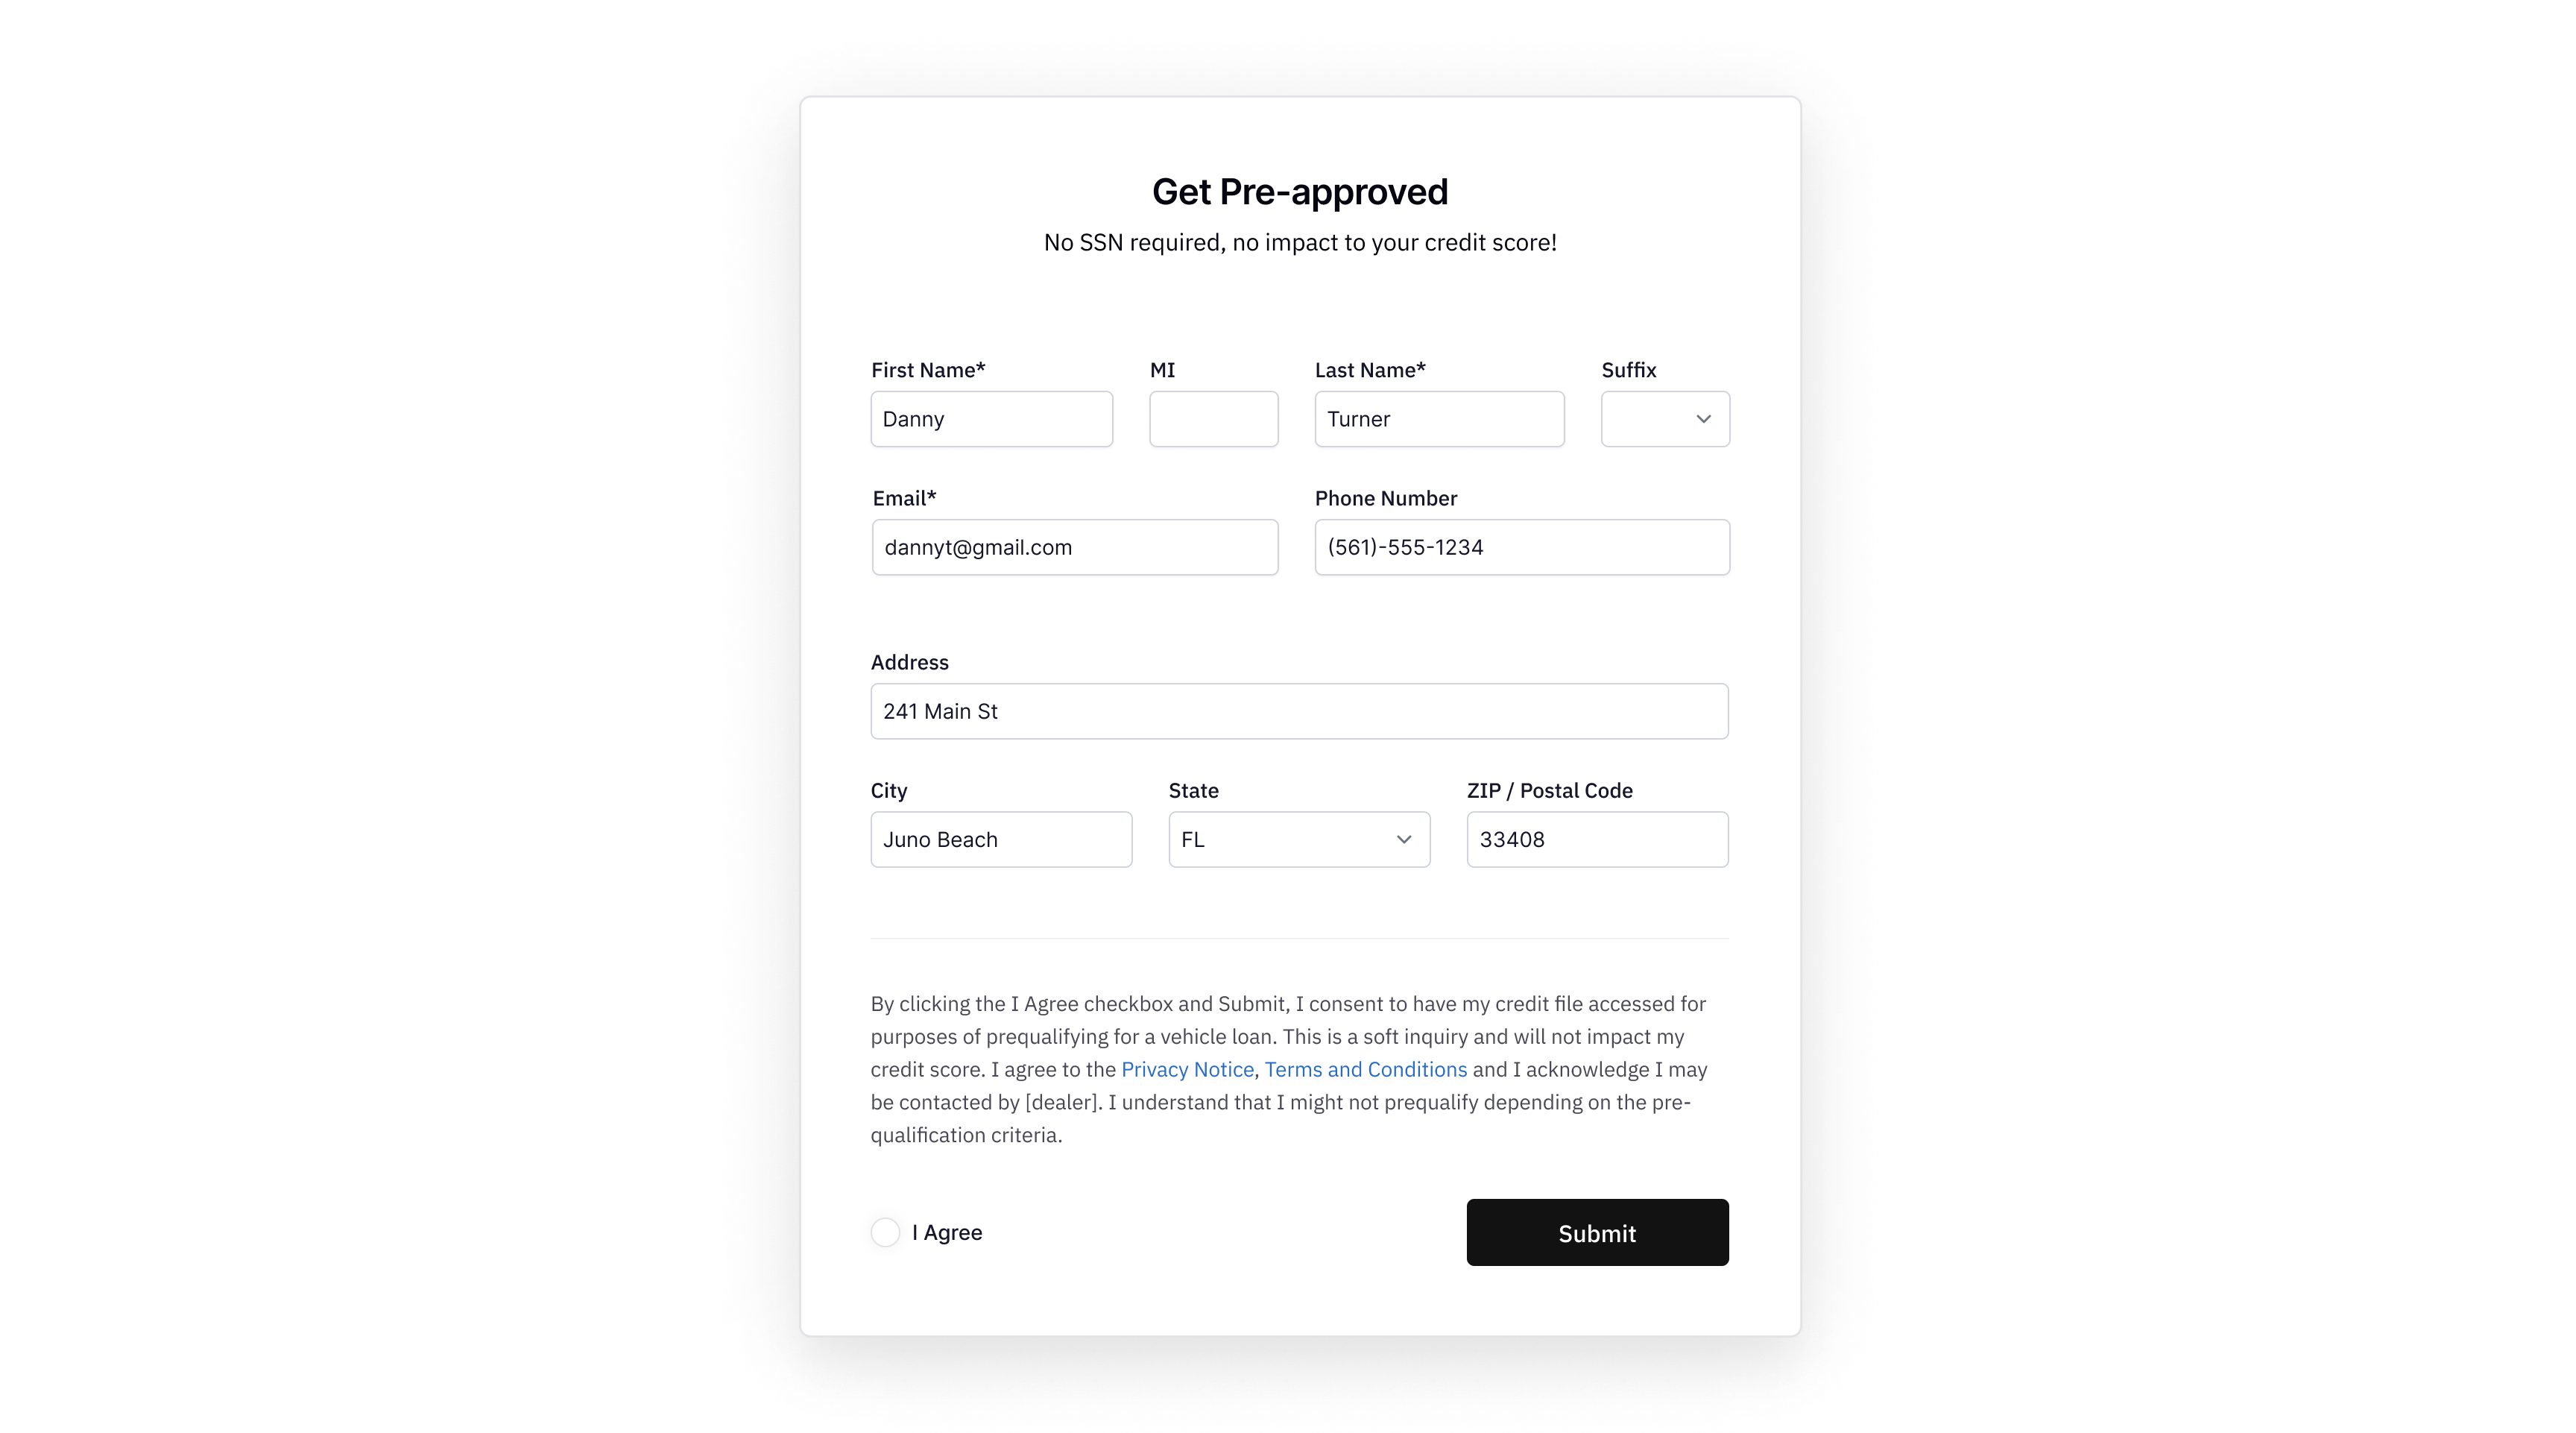
firstName: Customer’s first name (String)middleInitial: Customer’s middle initial (String)lastName: Customer’s last name (String)address: Customer’s physical address (String)city: City of the address (String)state: State of the address (AA format) (String)zip: Zip code of the address (String)phone: Customer’s phone number (String)email: Customer’s email address (String)
Optional Fields
income: Customer’s income (String)ipAddress: IP address of the customer making the request (String)userAgent: User agent of the customer’s browser (String)isp: Internet Service Provider of the customer (String)
Fetch API Example
This function createPreApproval sends the pre-approval data to the API endpoint using fetch with a POST method. It waits for the response asynchronously, converts the response to JSON, and logs it to the console. If an error occurs during the request or while handling the response, it catches the error and logs it, which is crucial for debugging and user feedback in real applications.
To execute the function, simply call createPreApproval() from your JavaScript code.
This example is meant to be a basic demonstration. In production, you might want to handle errors more gracefully and provide user feedback based on the result of the API call.
Successful Response
Upon successful submission, the API returns a response containing the following generated values:id: Unique identifier for the pre-approval (String)customer: Customer’s unique identifier (String)segmentationBand: Credit score band, e.g., “Excellent (750-900)” (String)lead: Unique identifier for the lead generated (String)status: Current status of the pre-approval, e.g., “Processing” (Enum)estimatedInterestRate: Estimated interest rate for the loan (String)estimatedLoanTerm: Estimated term for the loan in months (String)updatedAt: Timestamp of the last update (String)createdAt: Timestamp when the pre-approval was created (String)
Processing, Error,
Processed, Needs Info.
Example Response
Properties Reference
Pre-Approval Properties
Pre-Approval Properties
Available options:
Processing, Error, Processed, Needs InfoAvailable options:
JR, SR, II, III, IVAvailable options:
AA, AE, AK, AL, AR, AS, AZ, CA, CO, CT, DC, DE,
FL, FM, GA, GU, HI, IA, ID, IL, IN, KS, KY, LA, MA, MD, ME,
MH, MI, MN, MO, MP, MS, MT, NC, ND, NE, NH, NJ, NM, NV, NY,
OH, OK, OR, PA, PR, PW, RI, SC, SD, TN, TX, UT, VA, VI, VT,
WA, WI, WV, WY, AP