- Read privacy disclosures - Drivly Connect discloses data privacy practices right from the start, so you know where and how your data will be used.
- Confirm permissions - Drivly Connect displays the granular permissions needed to access the requested data. Drivly only shares and syncs data that has been approved.
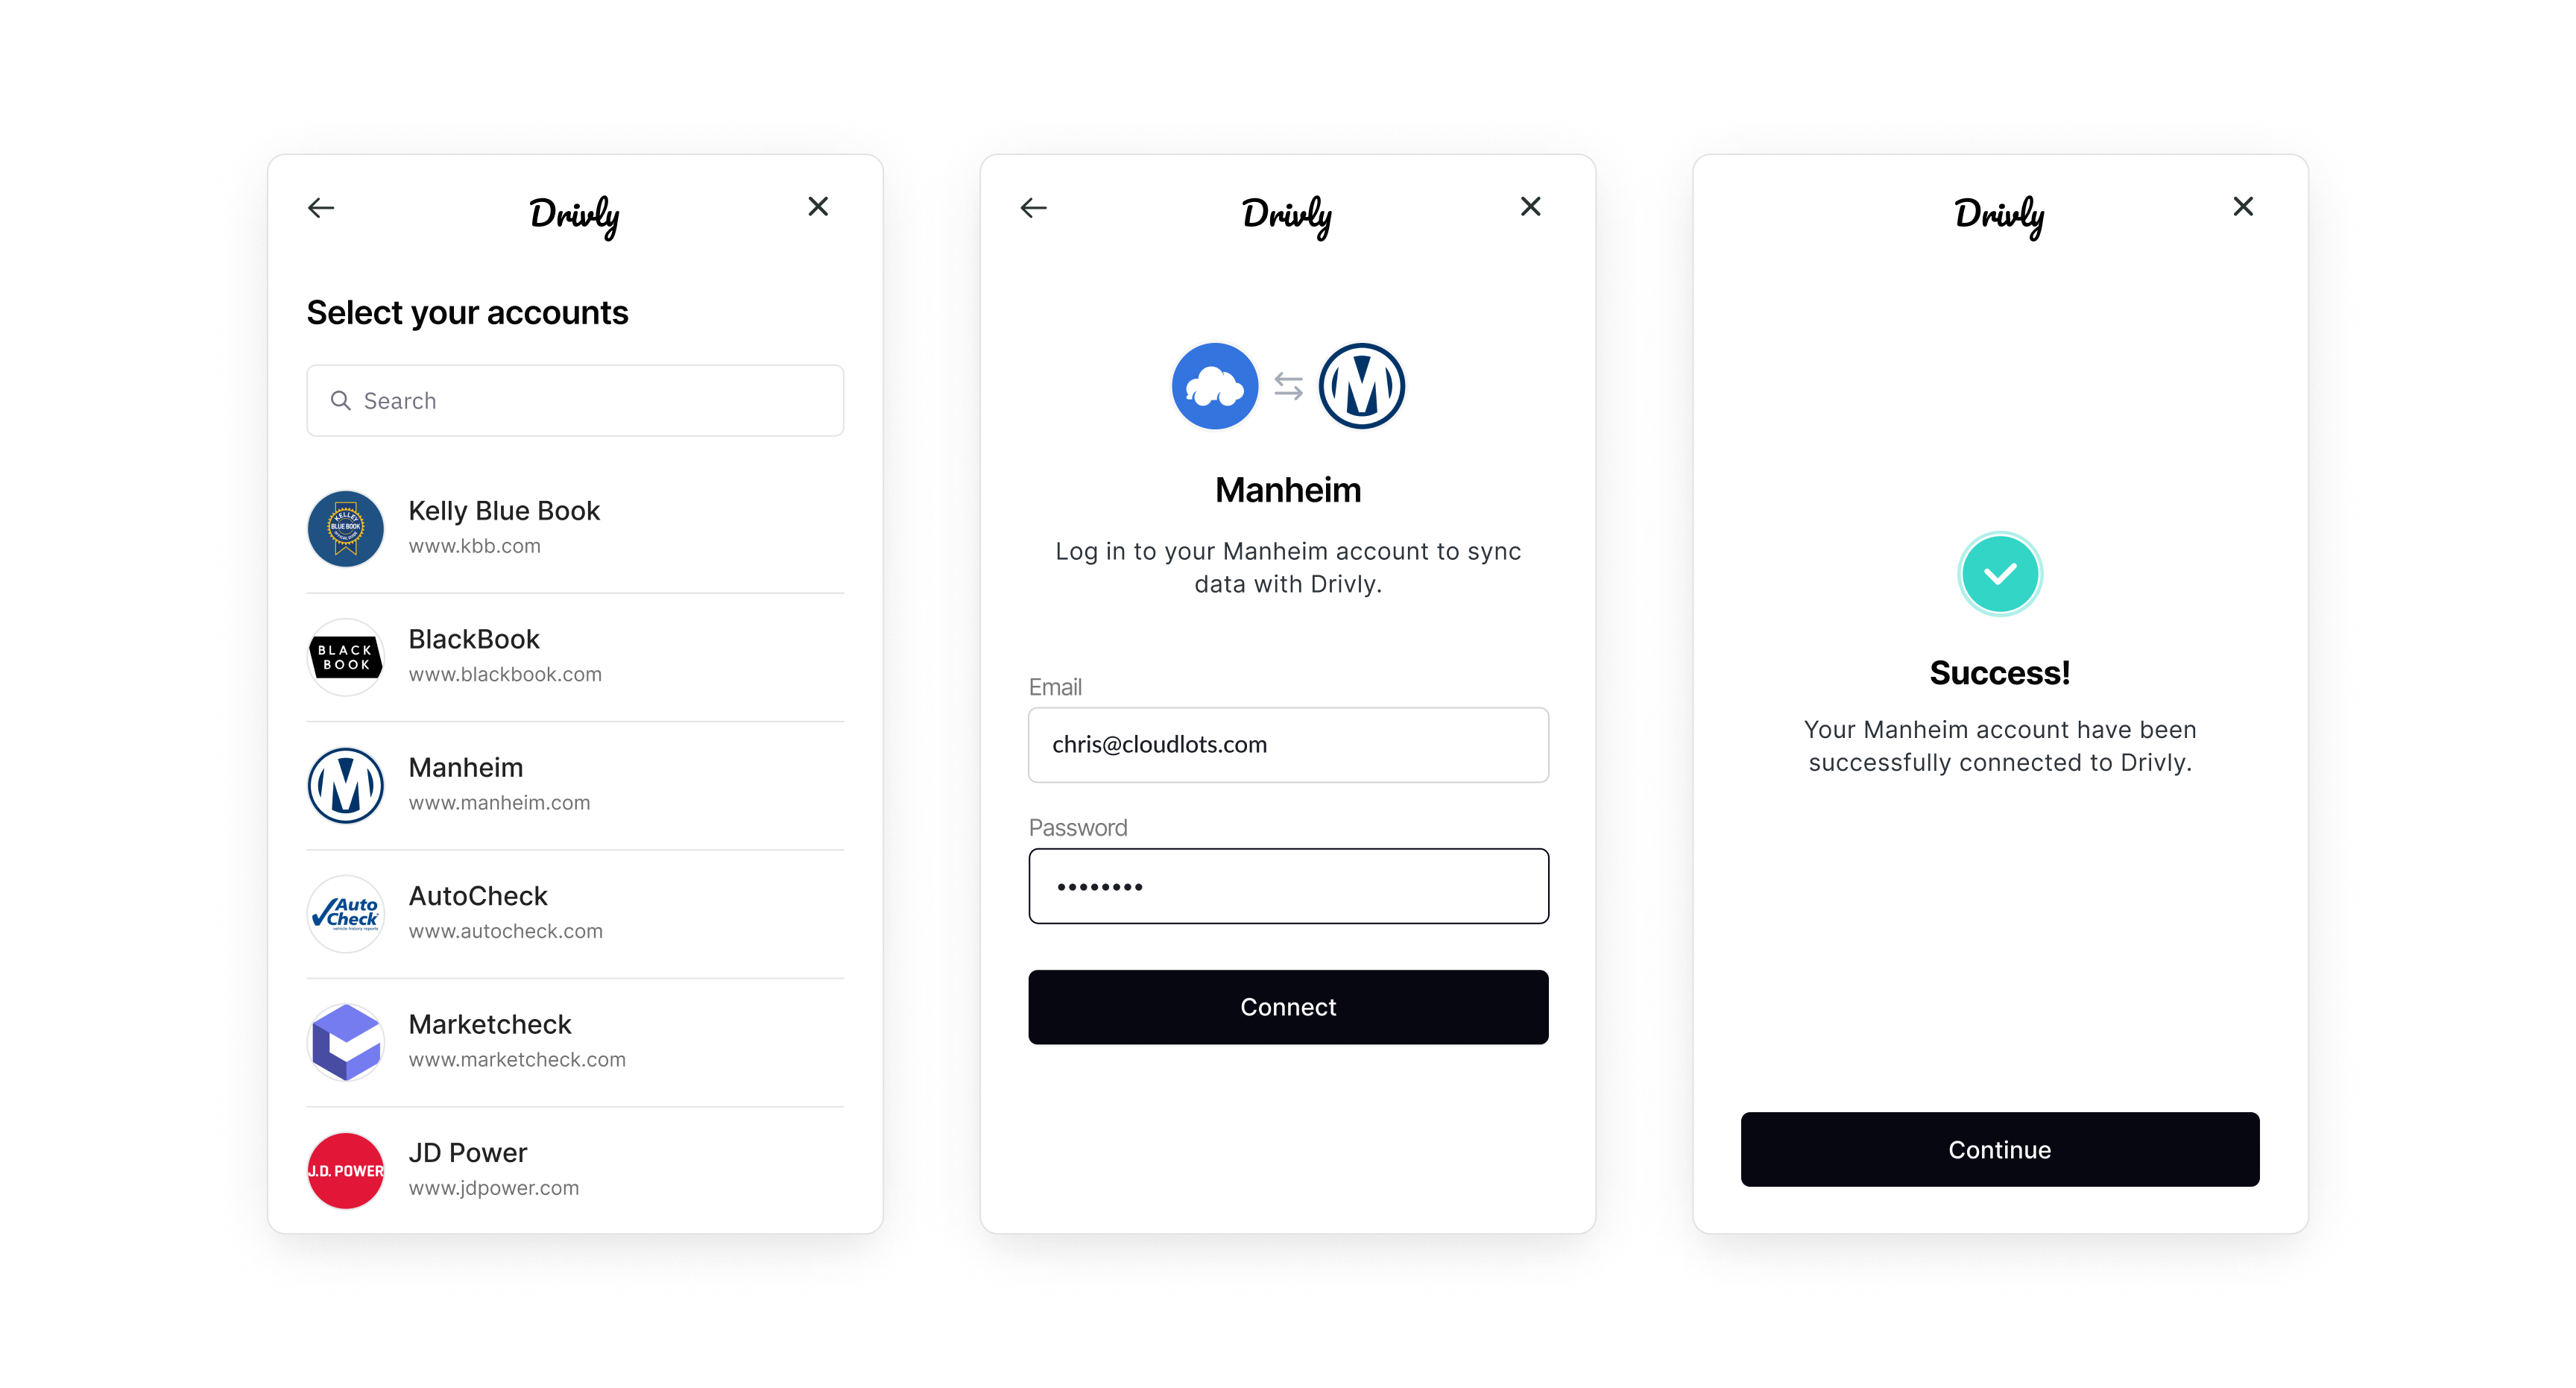
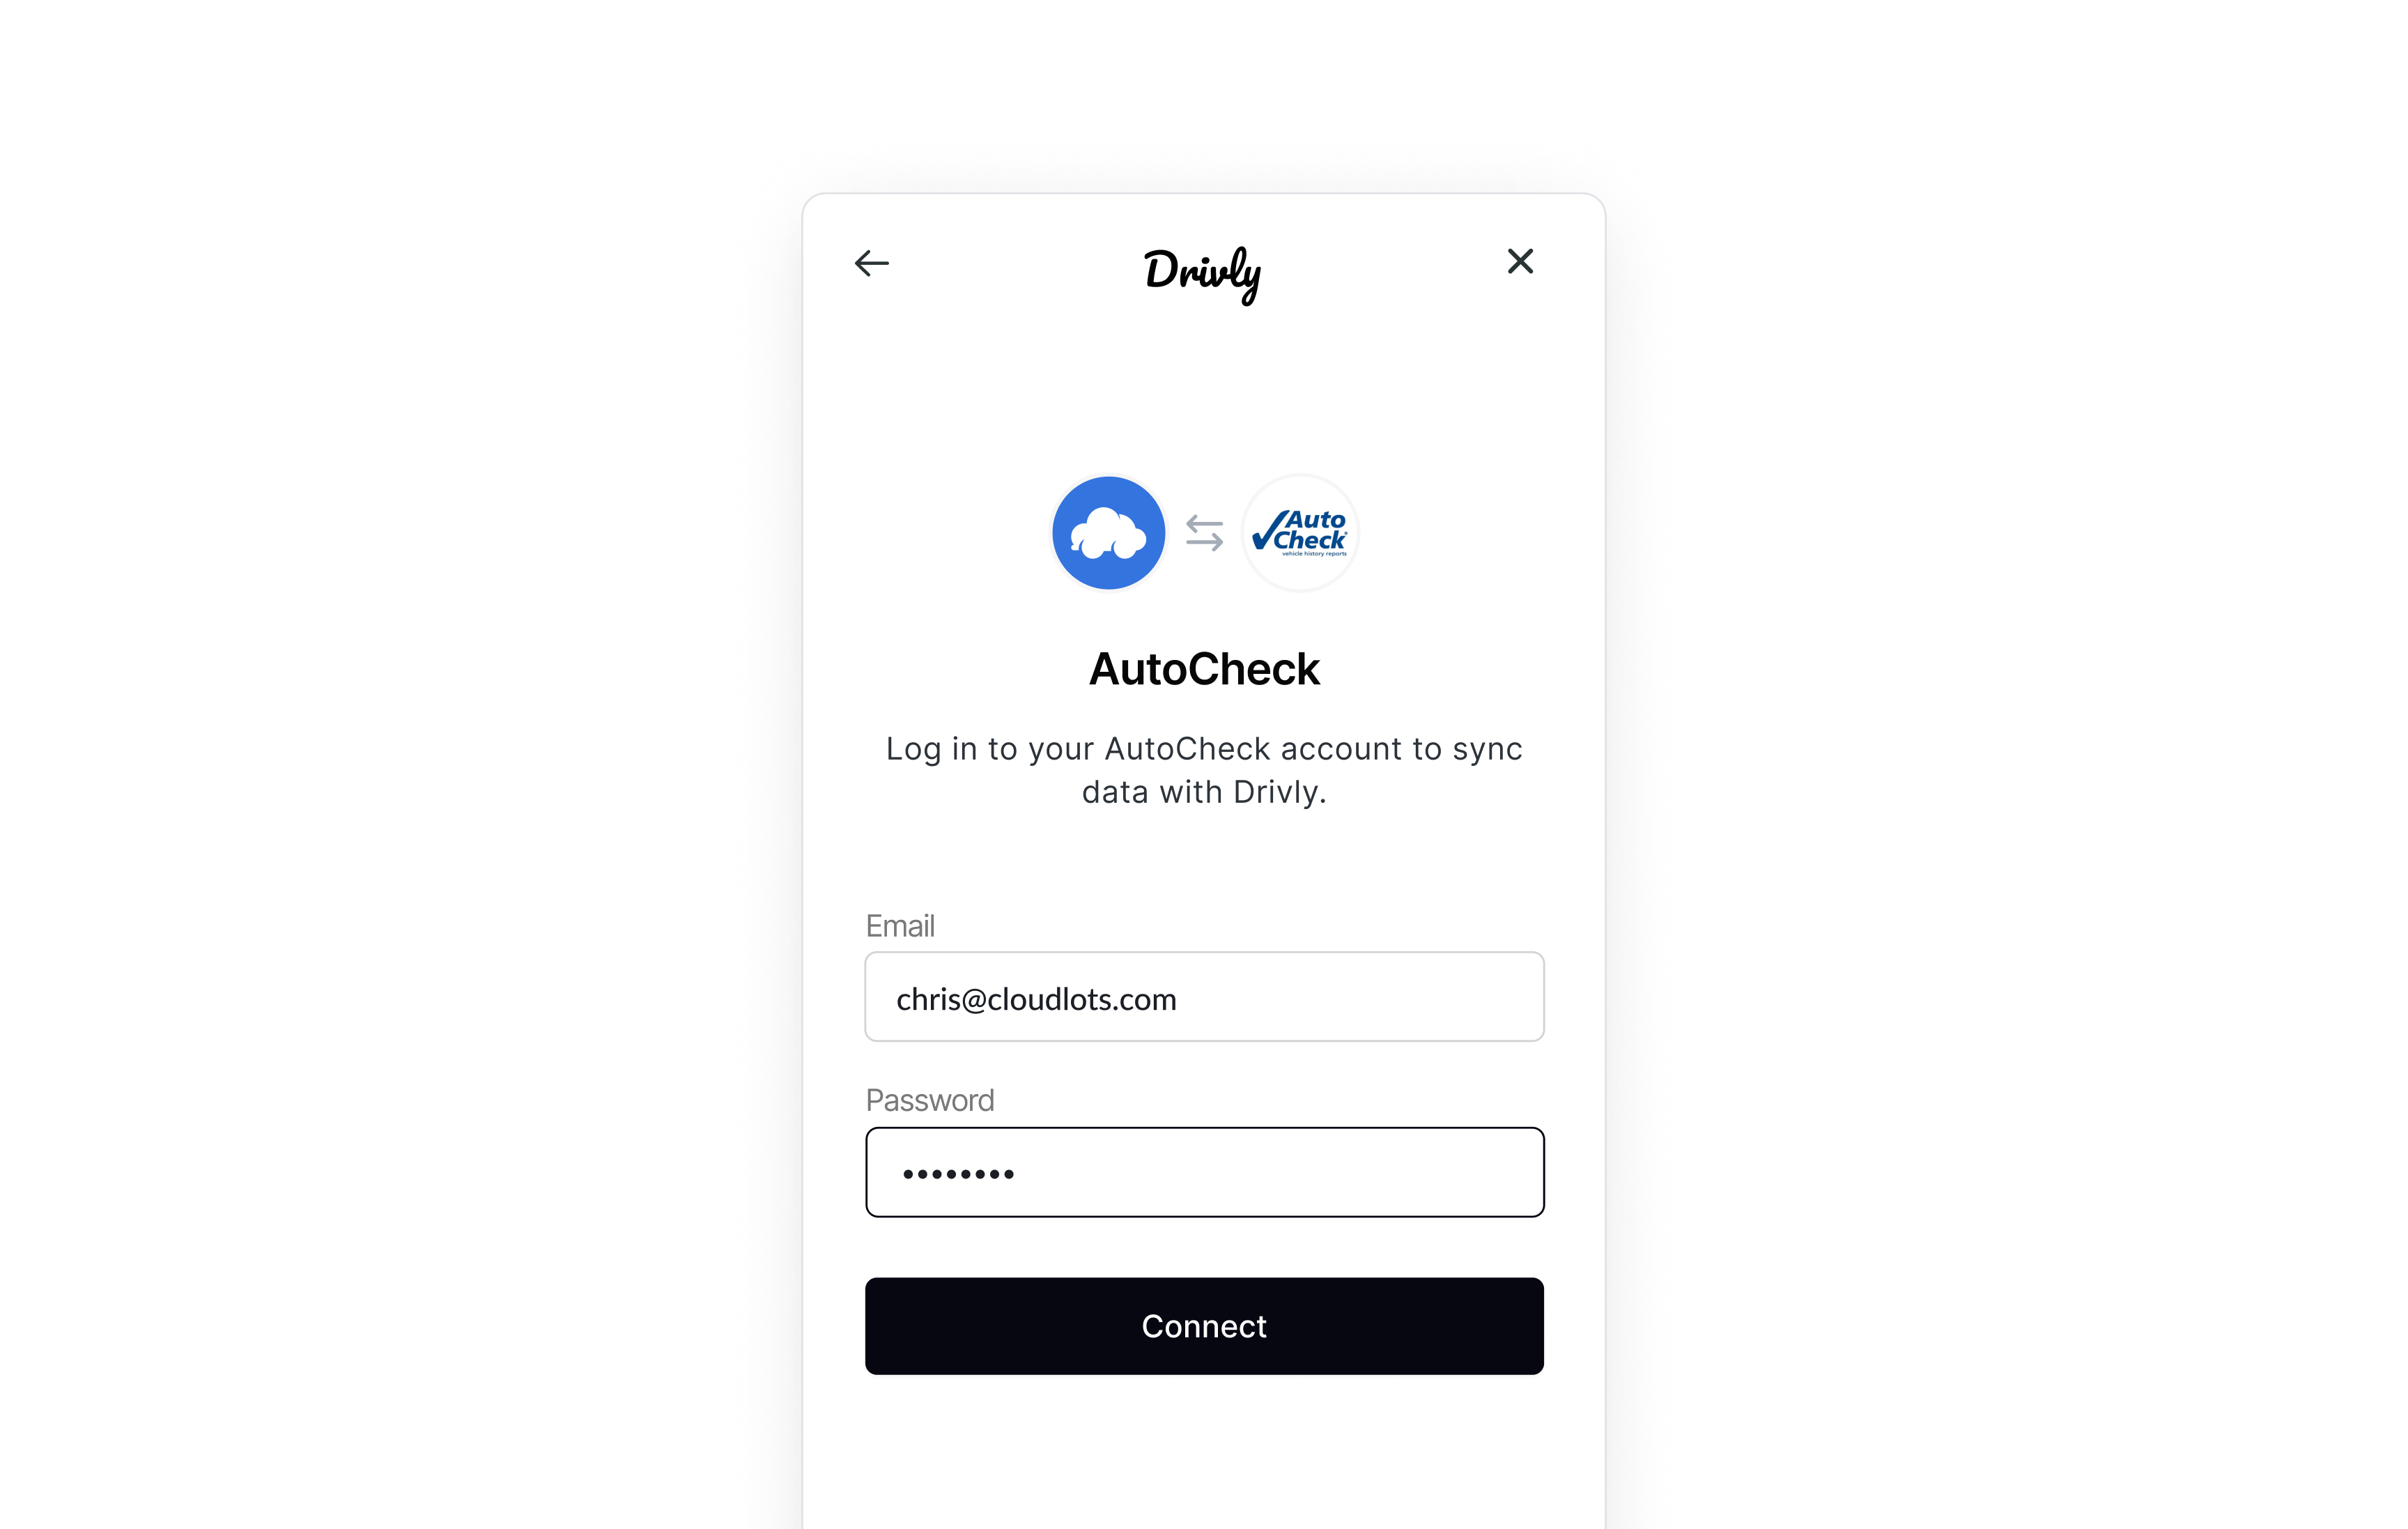
- Authenticate access - Drivly Connect prompts your customer to enter their credentials and grant you access to requested data. Drivly Connect will only succeed if the user grants Drivly’s systems access, if applicable.
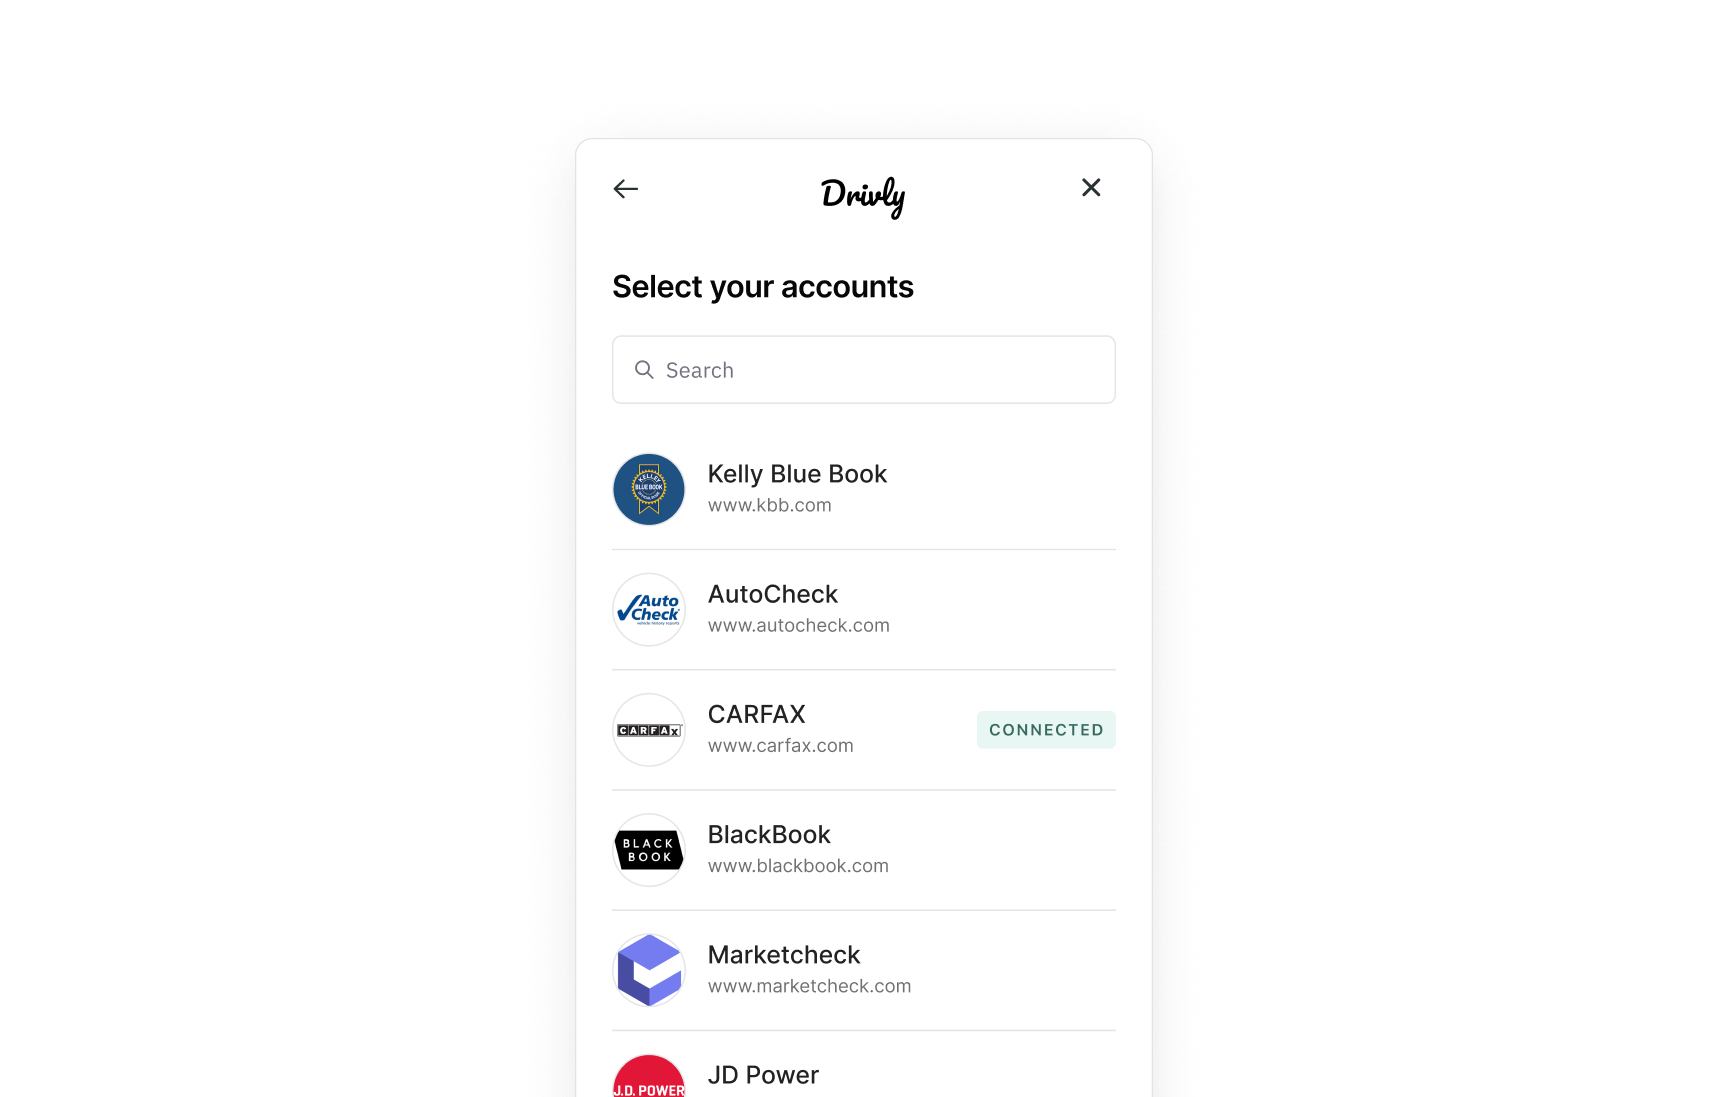
- Select a data or service provider
- Sign in
- Give consent
Connecting Providers
In this guide, we’ll follow an example scenario on how to use Connect to get comprehensive details about a vehicles condition and history.Chris purchased a 2022 Hyundai
To complete this scenario, we’ll be:
KMHL24JJ5NA045583 … explain the issues he faced with damage
disclosures and between CarFax and AutoCheck and how Drivly’s VIN Decode API solves this problem
head on.- Showing you how to use Connect with a Drivly API
- Connecting vehicle history data providers: Carfax and AutoCheck
- Etc …
Select a data or service provider
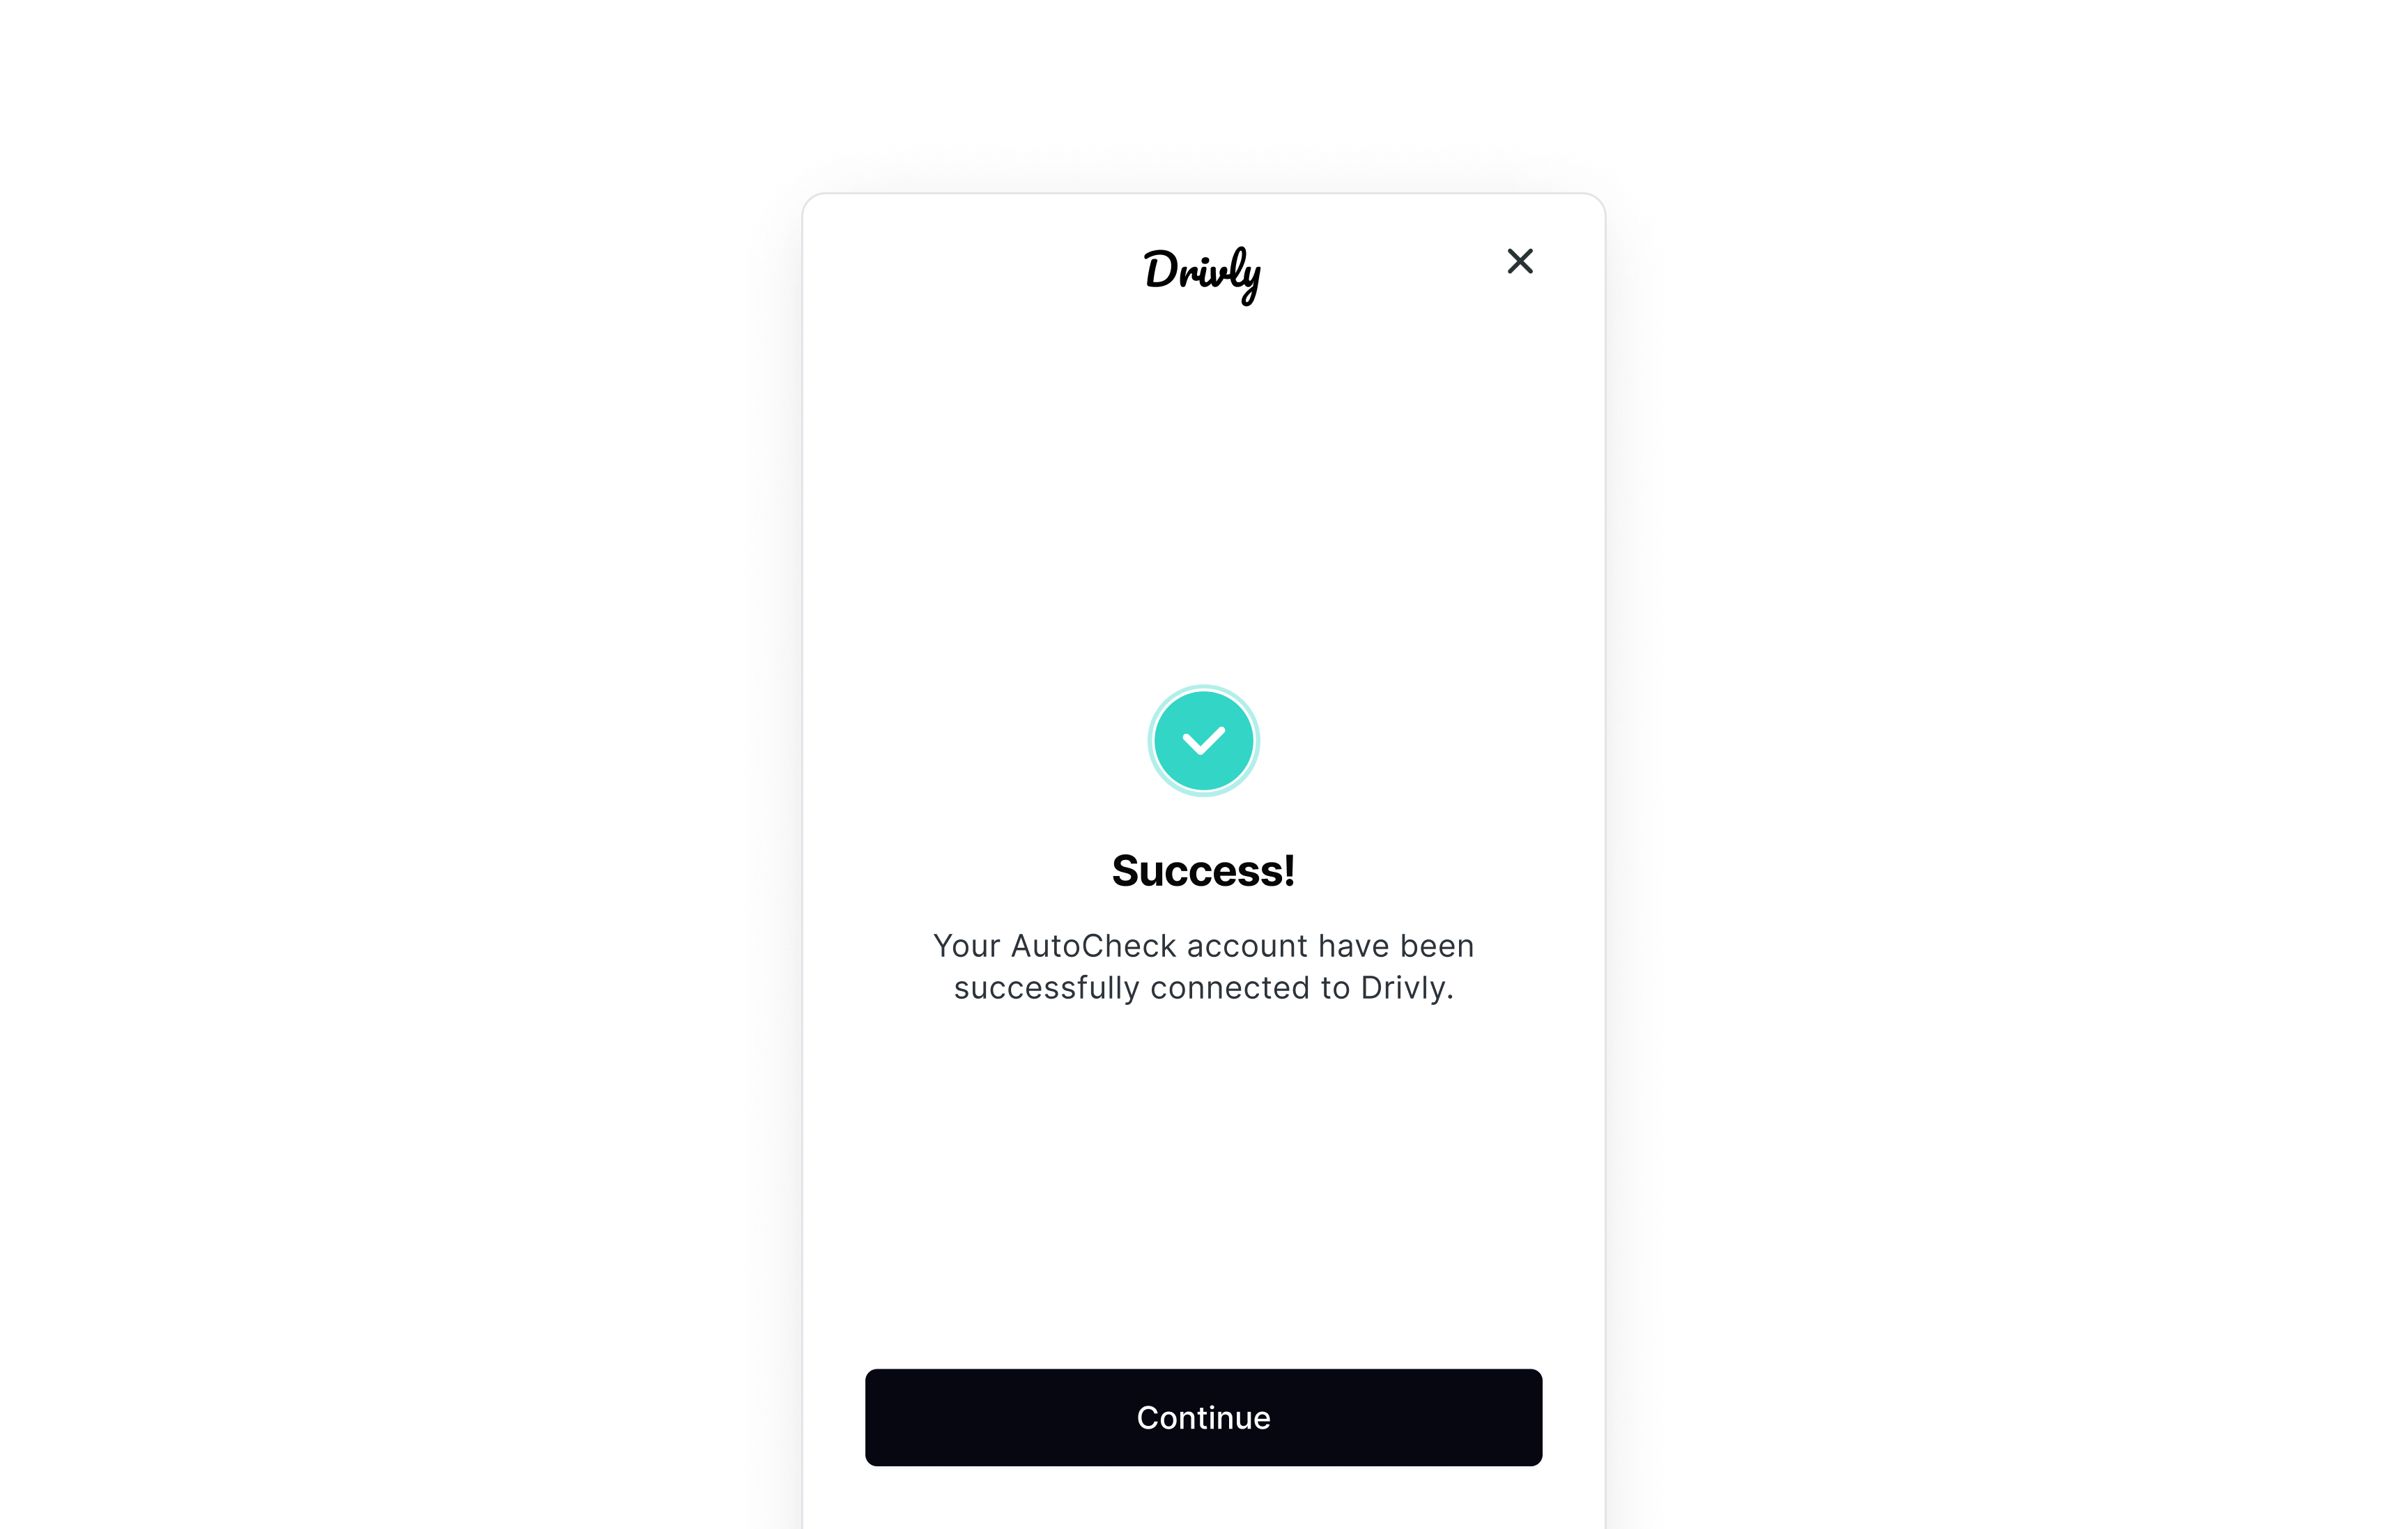
Carfax account connected.
Explain with Carfax gives him and what’s next…Enter your account credentials
Enhanced VIN Decode API.Drivly Connect will only succeed if the user grants Drivly’s systems access, if applicable.